| 3.5. Alternative Ways to Load Images | ||
|---|---|---|
 | Chapter 3. Loading and Viewing Images |  |
| 3.5. Alternative Ways to Load Images | ||
|---|---|---|
| | Chapter 3. Loading and Viewing Images | |
Besides the way described above, there are variations.
Instead of adding the module, you can drag the image file
onto the workspace: An ImageLoad module is created automatically in
the current network when you drag a DICOM or TIFF image file from a
file browser onto the MeVisLab workspace. The dragged file is loaded
automatically and available at the image output connector of the
created ImageLoad module.
![[Tip]](images/tip.png) | Tip |
|---|---|
This mechanism also works for WEM files (creates a WEMLoad module) and CSO files (creates a CSOLoad module). For these module classes, see Chapter 15, Developing WEM and CSO Modules. |
onto an existing ImageLoad
module
onto the filename field of an existing ImageLoad module
For loading DICOM files (or DCM/TIFF pairs, see Section 11.7, “Data Types for DICOM and TIFF”), you can use the DicomBrowser module.
With the DicomBrowser, DICOM
images can be sorted by DICOM tags like institution, patient, modality,
etc. The default browser path is set to the
MeVisLab image path at
$(InstallDir)/data. You can set your own default
DicomBrowser path in the Preferences, section
“Paths”.
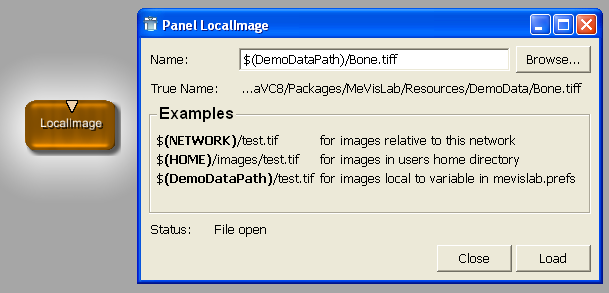
Instead of using the ImageLoad
module, you can use LocalImage.
LocalImage is a macro module that
allows for image selection based on relative paths. This method is
recommended for image referencing because it enables an easier exchange
of networks between cooperating parties. On the panel, the list of
supported variables and their meaning is displayed.
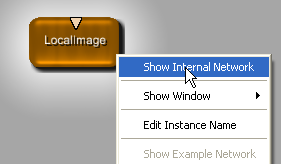
Macro modules are a combination of an internal network and a script. You can open the internal network via the module's context menu or by pressing SHIFT and double-clicking the module. Alternatively, the internal network can be opened in the preview state of a network (see the MeVisLab Manual).
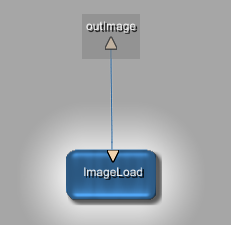
In the case of LocalImage, the
internal network consists of an ImageLoad only. The difference to that module is
only in the scripting that offers relative instead of absolute paths to
the file.
© 2013 MeVis Medical Solutions AG
| |  | |
| 3.4. Adding Viewers to ImageLoad |  | 3.6. A Note on Importing DICOM Images |